
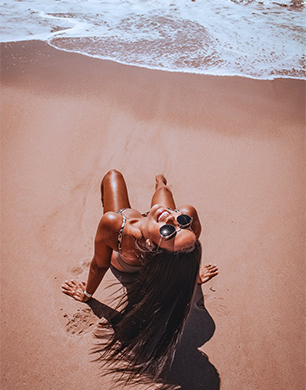
Photo Credit: BARBARA RIBEIRO via www.pexels.com
Of course, the UK isn’t exactly Hawaii or the Costa del Sol when it comes to sunshine, so it’s little surprise that fake tans are popular for getting that sun-kissed look.
Nonetheless, it can be tricky to apply the product in a way that leaves the results looking genuine rather than like you have got them from a bottle. So, what little steps can you take to prevent unsightly blotches that would give the game away?
Exfoliate your skin first
Of course, it wouldn’t be ideal if you make a lot of painstaking effort to perfect your self-tanning technique only for the colour to fade away too quickly. However, that can too easily happen if you fail to exfoliate your skin before applying fake tan to it.
That’s because the skin cells could be just about to shed — and, as they do, they will take the fake tan with them.
Moisturise your elbows and knees
“The only areas that need just a little moisturiser before tanning are parts of the skin that are prone to feeling more dry like the less fleshy pieces of skin such as the elbows and knees,” leading tanning expert James Harknett tells ELLE.
“Tan can over-absorb in these parts of the body, so just moisturise delicately on them, especially on the ankle bone.”
Take your time with the tanning itself
You might sometimes see tanning products advertised as helping users to self-tan fast. However, unless you are already highly experienced at self-tanning, you should probably steer clear of such products — and find those where the marketing focuses more on the quality of the tan.
Be careful what shade you go for
In advice to VOGUE readers, Harknett opines: “I think choosing the right self-tan for your skin tone depends on the finish you want to opt for.”
He notes that, while some people are keen on amplifying their natural skin tone, others like the idea of capturing more of a “statement look”.
Fortunately, numerous self-tanning products — like the Prep-Set-TAN spray from ICONIC London — are available in shades designed to accommodate these differing preferences.
Pay special attention to the tricky areas
If you have a tanning mitt, you could use an elastic band to tie it to a wooden spoon, enabling you to reach parts of the body you could otherwise have struggled to touch.
Alternatively, you could abandon the mitt altogether in favour of a blending brush. Another tanning expert, Amanda Harrington, has told VOGUE: “Brushes are perfect for blending and buffing tan onto hands and feet, and allow more control around those harder-to-reach areas.”
After self-tanning, wait for the skin to dry
In words quoted by Grazia Daily, Harknett advises that you “settle the tan with a quick blast of cool air from your hairdryer. Enjoy your glow for as long as possible by keeping the skin hydrated at all times, which will help ensure an even fade.”
In short, don’t skimp the aftercare if you want the fruits of your self-tanning efforts to last.